ALL POSTS
ALL POSTS
The Ultimate Guide to Mastering Cold Brew Coffee at Home
9 min read
Last edit: Jan 9, 2025
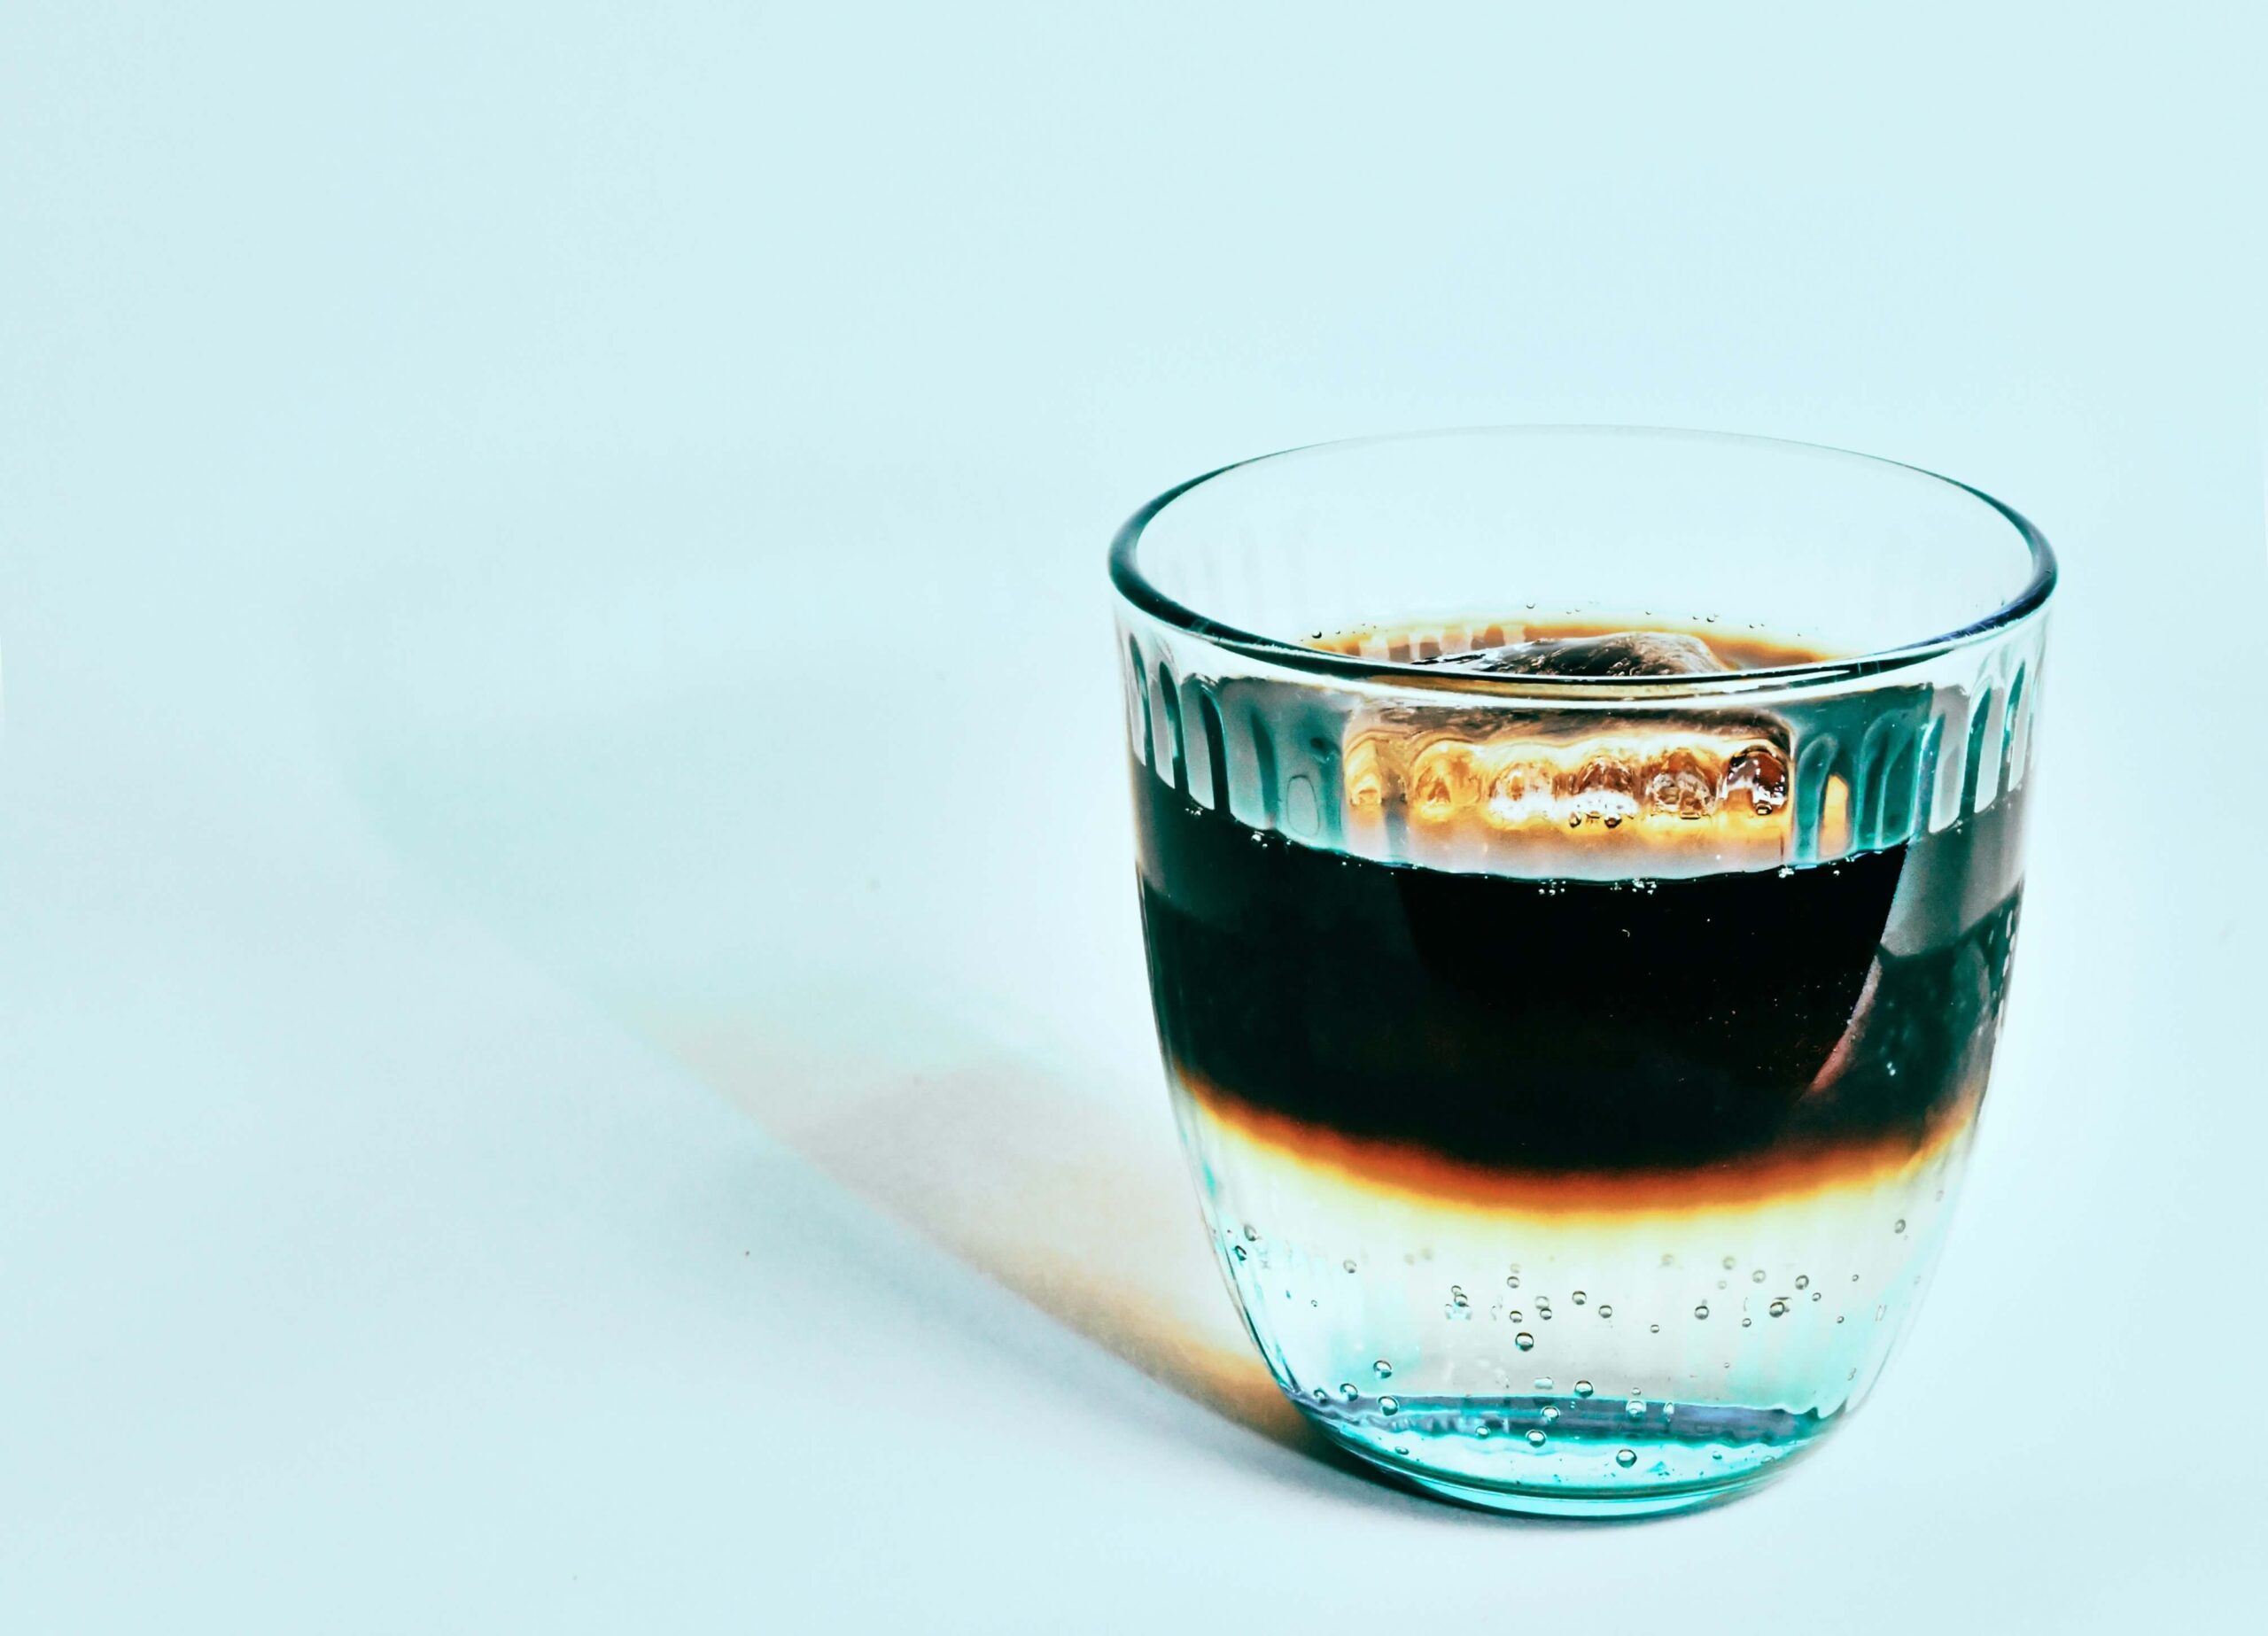
There is hardly anything better than a chilled cold brew coffee in summer. Invented some time in the 18th century this smooth drink has become a staple for hot summer days.
With a balanced taste, and easy to find, cold brew coffee can be mixed with milk of any kind or be incorporated into a cocktail or even mocktail. A versatile drink, isn’t it?
But how is it made, and how hard is it to make it yourself? Is home cold-brew production even a thing? Well, yes! In this guide, we have compiled best practices and recommendations on how to make cold brew at home and achieve consistent results.
Inventory
Coffee Beans
First of all we need to decide on what kind of coffee to use.
Preferably specialty coffee beans, coarsely ground just before brewing, ideally medium roast. While any coffee can be used, we recommend using the most flavorsome specialty lots. Anything post-fermented, anaerobically processed, or infused will often perform better than more classic coffees, but you can also go with a classic medium roast of natural Ethiopia or Colombia. The difference will be in the intensity of the flavor and its nuances.
For example, using a fully washed specialty-grade Ethiopian coffee will result in a more watery, light-on-the-tongue brew with a more floral taste. Meanwhile, taking honey-processed Costa Rica will yield a thicker, nuttier beverage with flavors of tropical fruits.
Can you use commercial brands for your brew? Sure thing, but because of the darker roast often used by big brands, you will most likely get a harsh and bitter, although thick, coffee. Roasteries working with specialty coffee tend to choose medium or even sometimes light roasting profiles, saving more flavors inside the bean and allowing you to extract a richer bouquet.
Water
Now, let us tend to the matter of water.
Filtered or bottled water, use the one that you prefer to drink. If we are going nerdy, try finding softer water, around 60-80 ppm. But really, you can just as well use anything from what the Specialty Coffee Association (SCA) recommends on water quality for coffee.
Cold Brew Coffee Equipment
This can range from specialized cold brew makers to simple DIY setups. Do, however, prepare scales to measure both water and coffee. And do consider gathering vessels for steeping and filters beforehand.
Cold brew equipment can be divided into two groups; immersive and percolative, which is also known as drip.
If you are going for less thick but more fruity brew go for cold drip tools. For a smooth and more chocolaty and slightly citric-like drink try an immersive method.
Let’s talk about the necessary tools for cold drip coffee brewing. Prepare everything in advance so that you don’t miss anything in the process:
- Drip Cold Brew Coffee Maker: A specialized apparatus designed for cold brew drip, for example, one from Hario: Hario Cold Brew Dripper.
- Immersion Cold Brew Coffee Maker: Basically, use any kind of jar or food-safe bucket. We do recommend considering a specially designed toll such as Toddy Artisan.
- Grinder: Use whatever grinder you have, except for the blade type since these do not yield a consistent grind. No grinder? Ask your coffee roaster to grind coffee slightly coarser than for v60.
- Ice: Optional, for diluting and chilling the final brew. Ideally, from the same water used for brewing.
- Scale: For precise measurements and ensuring that you can replicate the recipe that worked for you.
- Timer: To monitor the brewing process. If you are just assembling your kit do look for coffee scales, those often have an installed time. Or just use your phone!
Process
Grinding the Beans
Grind your beans coarsely, similar to sea salt. A coarse grind ensures that the water used infuses slowly and evenly, preventing over-extraction, which can lead to bitterness and a harsh mouthfeel. It is also easier to filter since there will be fewer fine particles that can clog the filter or even go through if you are using metal filters.
Use a burr grinder for the best results or ask your vendor to help you out with the grind.
Immersive cold brew preparation is forgiving to how coarse exactly you should go with the grind size, so don’t be afraid that you will mess up. If you are brewing v60 at home, just make it a tiny bit coarser than your usual setting.
Cold drip method how-ever is less forgiving to mistakes in grind. Unfitting particle size will result in uneven extraction. That leads to a harsh, unbalanced and astringent or even rancid flavor.
Got coffee soon to go stale? Make an immersion cold brew out of it. It will not be as tasty as if you would brew it from the fresh staff, but this concentrate can still be used for cocktails and milk beverages.
Setting the Brew Ratio
This part is simple. We recommend you use 60 grams of coffee beans to 1 liter of water for both methods of extraction.
But what if I got a pack of 250 grams? Do you lose 10 grams? Not a chance! You can use these leftover beans for cup-tasting or for dialing the grinder. No waste.
Can you use more coffee or more water? Absolutely, but remember that if you use more water, your brew feels more diluted and vice versa. Using more coffee might result in an under-extracted concentrate. Under-extracted coffee tastes of grass, vegetables, and can be rather astringent. And these are not desirable characteristics.
Immersion Cold Brew Method Assembly
If you have no intention of brewing huge batches, we recommend you find filter-in coffee bottles. Functional, affordable, and they usually also look good in your fridge and outside of it. For an immersive method, we need a vessel able to hold both coffee and water. There are tools that allow you to seamlessly filter the brew, such as the one manufactured by Hario (Hario Cold Brew Bottle). Little to no assembly needed.
Brewing a bigger batch? Go for a jar or food-safe material bucket. Put the coffee in and then introduce room temperature water, stir the resulting slurry until homogenous.
How long does it take to steep the coffee? Anything from 8 to 12 hours, basically overnight steep is the way to go. Do store the future brew in a cold place. Ideally in a fridge, but any place with consistent low temperature and no direct sunlight will do just fine.
Drip Cold Brew Method Assembly
With an Immersion method steeping let’s look into the drip method. This one is a bit more complicated though.
Prepare the Drip Cold Brew Coffee Maker:
- Assembly: Take a look at the manual supplied with your nifty drip cold brew maker. Often, the assembly requires locating the coffee filter in the appropriate chamber, prewetting the filter, and adding the ground beans. Do check that the water reservoir is secured above the filter part.
- Filter: Wet the coffee filter slightly to help it adhere to the chamber and prevent any dry spots during brewing.
Add Coffee Grounds:
- Distribute Evenly: Add the ground coffee to the filter in the coffee chamber. Shake the chamber gently to level the coffee grounds, ensuring an even distribution for uniform extraction. The last thing you want is a channel forming that will under-extract and make your brew taste more grassy and vegetative.
How much coffee to add? Depends on how much cold brew you would like to get out. We recommend going with a classic ratio of 60 grams per liter of water but do feel free to experiment here.
Add Water:
- Water Reservoir: Pour the water into the reservoir with filtered room-temperature water. If your drip maker has a flow control valve, adjust it to a slow drip rate. The ideal rate is approximately 1 drip per second, which allows for a gradual extraction of flavors.
- Ice (Optional): Adding ice to the water reservoir can help regulate the brewing temperature, especially in warmer climates. This can result in a smoother and less acidic brew.
Start the Brewing Process:
- The Drip is On: Open the flow control valve to start the dripping process. Ensure the water drips slowly and steadily onto the coffee grounds. Consistency is key here.
Monitor and Adjust:
- Check the Drip: Throughout the brewing process, monitor the drip rate and adjust if necessary. Maintaining a consistent drip rate is necessary for achieving a balanced extraction.
Let It Drip:
Brewing Time: The cold brew drip method typically takes 8 to 14 hours. Patience is one of the ingredients and you need plenty of it, as the slow extraction is what gives cold brew its unique, smooth flavor and thick texture.
Filtering
For the filtering of immersion-made brew you would need a metal filter to separate bigger coffee grounds. Afterwards, do filter the brew again but with pre wetted odor-free cloth or paper filter. That will ensure that the smaller grounds are also filtered out.
What is the procedure for filtering drip-made concentrate? Usually there is none, since cold drip towers filter the coffee while the brewing is happening.
Collect the Brewed Coffee
Collection Vessel: Once the brewing is complete, collect the cold brew concentrate in the designated vessel. You can store this concentrate in the refrigerator for up to a week. However, note that cold brew is not shelf-stable if not pasteurized or infused with preservatives. The yielding concentrate is good to consume for up to two days, after which the beverage will start degrading quickly.
Serve and Enjoy
Dilution: resulting after both brewing methods cold brew concentrate is typically robust in flavor and caffeine content, so you may want to dilute it with water, milk, or a milk alternative before serving. A common dilution ratio is 1:1 (equal parts cold brew and diluent of choice).
Ice: Serve your cold brew over ice for a refreshing drink. You can also add sweeteners or flavorings to taste. Or go for a liquor-like experience with no dilution of concentrate and a bit of ice in a fashionable glass.
Garnish: For an added touch, garnish your cold brew with a slice of citrus, a sprig of mint, or a dash of cinnamon. Or all three!
How to Up Your Cold Brew Game
- Freshness: Use fresh specialty coffee beans and grind them just before brewing for the best flavor.
- Water Quality: Use filtered water to avoid any off-flavors from tap water. Better yet, use soft water or water that fits the SCA standards for water used for coffee brewing.
- Experiment: Adjust the coffee-to-water ratio and drip rate to find your perfect balance.
- Clean Equipment: Regularly clean your cold brew maker to prevent any buildup of oils and residues that can affect the taste. Hygiene ensures consistency in resulting brews.
Outro
Cold brew coffee making is a rewarding process, and drinking the results of the work done is even more so.
Follow our guide, and after tweaking your recipe, you will end up with a brew that can rival your local coffee shop’s. Whether you enjoy it black, with milk, or flavored, cold brew coffee is a versatile drink that’s perfect for any time of day. Enjoy!
Would you like to learn more about other coffee roasters in Slovenia? Here are the guides.


